PagerDuty
Describing the PagerDuty System
Integrating Elecard Boro With PagerDuty
Before start using PagerDuty, you should have an account at www.pagerduty.com. Create a new account or sign in an existing account. Note, that after account registration you are provided with 14-day free trial.
As you log in the system, create a service that will register Boro notifications in PagerDuty and resend information on them to addressees via other communication channels. Go to the Services menu and select the Service Directory option.
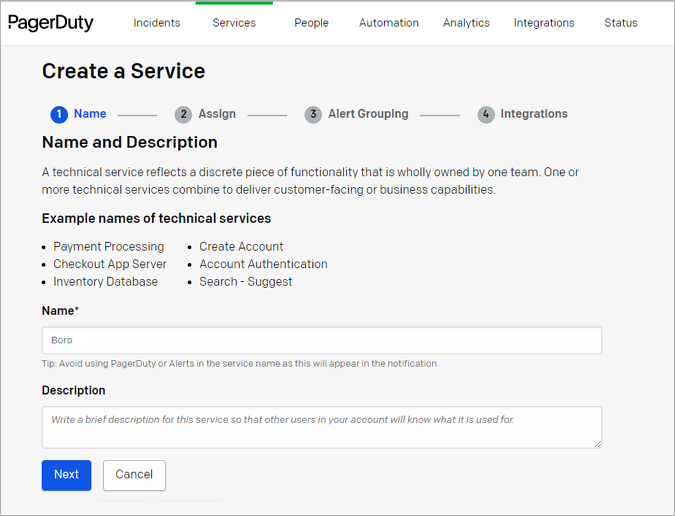
To create a service, click the New Service button. In the opened window, specify a preferred service name and add a description if necessary. Proceed by clicking the Next button.
Now you need to assign an Escalation Policy to your service. This setting specifies the scenario for notification sending and regulates the number of notification addressees.
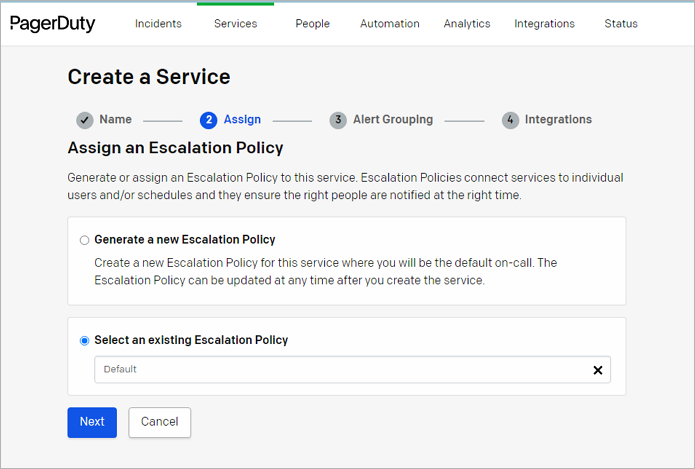
The following options are available:
Generate a new Escalation Policy — to create a new Policy. You can update the escalation policy at any time after the service is created;
Select an existing Escalation Policy — use the default Policy. Notifications will be sent to the service creator.
Links
More information on Escalation Policies read on the https://support.pagerduty.com/docs/escalation-policies
Choose the Policy option and click Next. On the following page, you will be offered to choose notification groping mode.
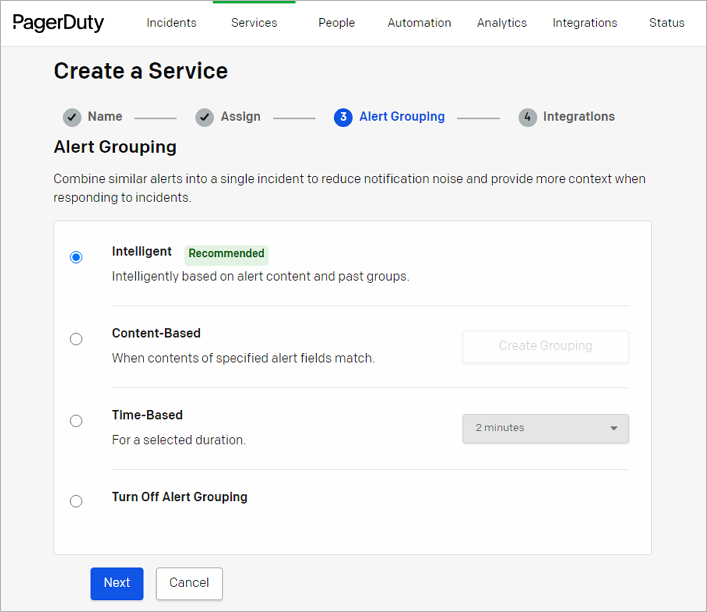
You may choose one of the next modes:
Intelligent — automatically groups related incoming alerts into a single open incident on the basis of notification content;
Content-Based — allows configuration of grouping based on the preferred, user-defined field. For this option, you need to select a field from offered variants or specify your own via the Custom Details option;
Time-Based — preforms alerts grouping so that all new alerts will be added to the open incident for the specified time period while the incident is open;
Turn Off Alert Grouping — disable alert grouping.
Next, select Events API V2 from the integrations list. Finish creation of a service by clicking the Create Service.
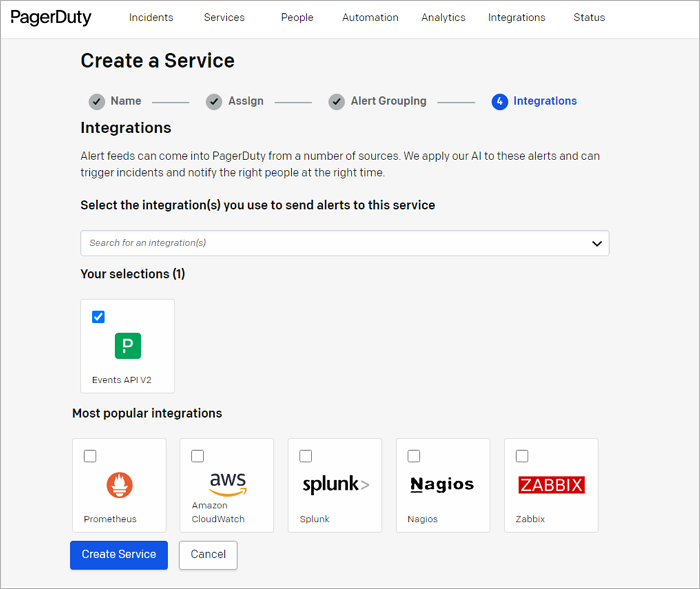
The page containing an integration key should open. Copy the key.
Configuring PagerDuty Notifications
To add a new profile, open the project settings page, go to the Notifications➝PagerDuty, and click the Create profile.
To enable a profile, check that the setting Enable PagerDuty notifications (1) is active.
Paste the copied key in Integration Key (2). Save the changes.
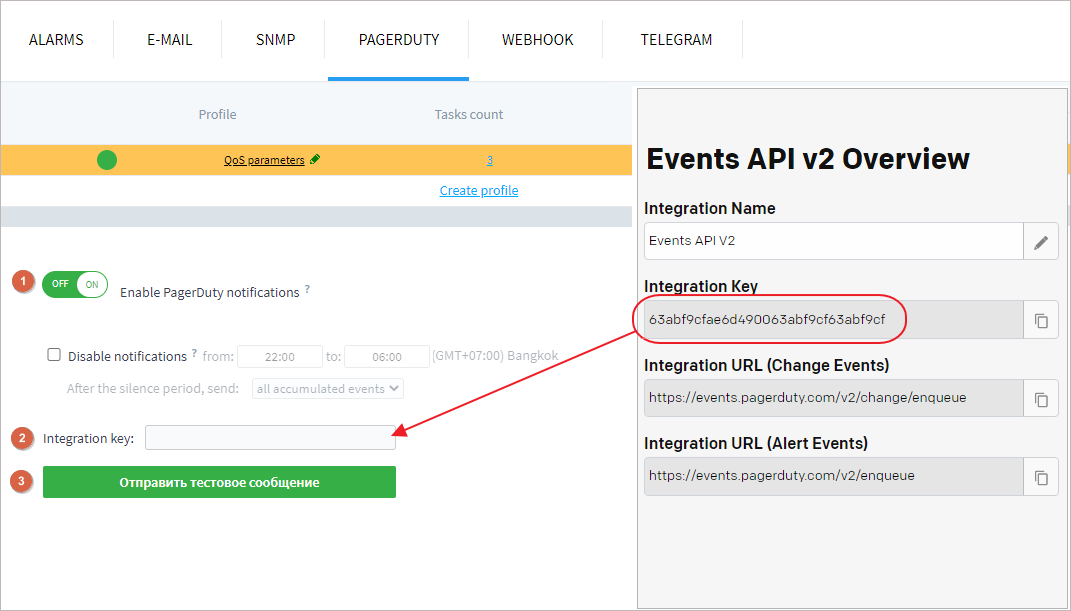
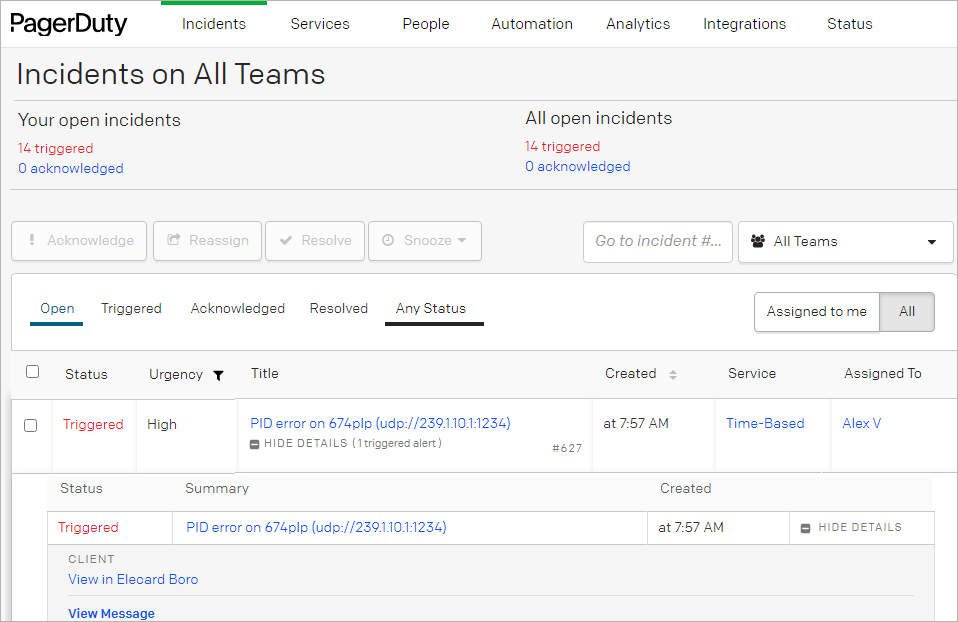
To validate the correctness of specified settings, click the Send test message button (3). A test message will be sent to your dashboard by the PagerDuty system and is displayed as a triggered incident on the dashboard.
You may go to the PagerDuty dashboard (the Incidents tab) via Incidents➝All Incidents. Here you can manage received notifications, e.g. browse the history of received notifications, reassign their resolving to other people, snooze notifications, etc.